This is SO me!

This is SO me!

Saturday, January 26, 2013

Going Forward...Looking Back...a New Release!

Welcome to part 1 of the first Sassy Studio Designs New Release of 2013!  This weekend, the Sassy Studio Designs DT is "Going Forward...Looking Back".  You should have arrived here from Kate's blog.  If you did, that's great!  If you didn't, please go to the SSD Blog to start the hop there.  You don't want to miss anything!!

We will have several brand new Sassy Villains images to share with you this weekend, but we will also be taking a look back on 2012.  We will be sharing some of our favorites from last year-
 
Favorite Sassy saying or sentiment
Favorite tool to use
Favorite paper
Favorite sketch
Favorite technique
Favorite style
Favorite color
Favorite brand
Favorite embellishment....ribbon, flower, bling, mesh etc...

We will also be sharing our favorite personal creation from 2012 using our beloved Sassy Studio Designs.  Here is mine- a thank you card that I made using My Fair Lady.  I love this image and she went perfectly with the Graphic 45 A Ladies' Diary papers:


Now onto the "looking forward" part of our release...the brand new images!  We have 4 new villains for you- Gaston, Malificent, Ursula, and the Queen of Hearts.  Today, I am featuring Gaston- from The Beauty and the Beast.  Here is my card.  I hope you like it!


I chose to use:
My favorite embellishments- flowers and BLING!
My favorite paper- I love ALL patterned papers!


 My favorite technique- coloring with Copic Markers
My favorite style- Clean and Simple

Your next stop will be Robin's blog. I KNOW you will love what she has to share!  Here is the entire blog hop list, just in case you get lost along the way:

SSD
Mary  
 
Remember to check out Part 2 of the hop tomorrow starting on the SSD blog!!!

Thanks for stopping by!
 
Stamps:  Gaston (Sassy Studio Designs), sentiment is computer-generated
Papers:  Real Red, Daffodil Delight (Stampin' Up), Neenah 80# white, striped patterned paper
Accessories:  Copic Markers, stick on rhinestone swirl (Recollections), pop dots, paper flower (Recollections)


Friday, January 25, 2013

It's Fabulous Freebie Friday!

Hello, and welcome to another Fabulous Freebie Friday giveaway!  This week's image is Ballroom Babe.  Make sure to visit the Sassy Studio Designs page at Paper Craft Planet to grab her while she's available!!!  Our challenge again this week is to use a favorite technique or style.  This week, I decided to use my new favorite craft technique and that is altered canvas with my beloved Copics.  I used a 5 x 7" stretched artist's canvas. Using Mod Podge, I covered the canvas using Tim Holtz's Idea-ology Composer tissue paper.  I randomly painted lightly with orange and light blue acrylic paints, added a couple rub-ons and white painted "bubbles" from bubble wrap, then using the Mod Podge, attached the colored Ballroom Babe image and the sentiment.  I am really enjoying making these canvases and I thank my friend, Gloria, and Christy Tomlinson for helping me through the learning process!  So, here is my creation:

 
I apologize for the poor picture.  I kept getting funky glares with the flash.  I hope you like it!
 
MARK YOUR CALENDARS!  Sassy Studio Designs will be having their first new image release of 2013 this coming weekend and it'll be a 2-day event!  Make sure to check back on Saturday when I will be spotlighting one of the new Sassy Villain images!
 
Thanks for stopping by!!

Stamps:  Ballroom Babe (Sassy Studio Designs), sentiment is computer-generated
Paper:  Neenah 80# white cardstock
Accessories:  5 x 7" stretched artist's canvas (Michael's), Tim Holtz's Idea-ology Composer tissue paper, Mod Podge, light blue, white, and orange acrylic paints, bubble wrap, rub-ons, Copic Markers

Friday, January 18, 2013

Fabulous Freebie Friday!!!

It's Friday and that means another fabulous freebie from Sassy Studio Designs! Make sure to hurry over to the SSD page on Paper Craft Planet and grab Skater Sassy while she's available!!! She is a fun and funky skater with just a touch of sassy...perfect for that 'tweener or teenage girl in your life. Our challenge this week was to create a card using a technique or style that we love. For those of you who follow me know that I am not a fancy card maker...instead most of my cards are clean and simple...and of course, using my much loved Copic Markers.

Here's my card using Skater Sassy:
 
 
Here's a close up:
 

Stamps:  Skater Sassy (Sassy Studio Designs), You and Me (Sherrod Studio)
Papers:  Early Espresso (Stampin' Up), Neenah 80# white, pattered paper (Miss Caroline pad from My Mind's Eye)
Ink:  Black Versafine
Accessories:  Copic Markers, pop dots, Modern Label Punch (Stampin' Up), gold stick-on beads

Monday, January 14, 2013

She Art

My New Year's resolution for 2013 was to do something- anything- crafty each day.  On New Year's Day, I started my first She Art canvas.  In case you haven't heard of She Art, check out Christy Tomlinson's blog.  She makes some of the most beautiful mixed media canvases!!!

Anyway, I was a little nervous to start, but my dear friend, Gloria (check out her blog here), inspired me to actually get going on a canvas.

My first step was to decide on what papers I wanted to use...THAT is really the hardest step!!  I chose to use some of Christy Tomlinson's She Art papers- beautiful designs and very bright colors.  I traced the shape of the girl and her clothing and cut her out.  The colors are much brighter than what's showing in the pictures!


Next I ripped and applied the background papers to the canvas using Studio Mixed Medium Matte gel.  I decided to use blue in the sky area and green in the grass area- go figure.  :)  I was having a really hard time being "random" with this!  It's more stressful than I thought it would be!!!


Once the gel was dry, I used a light blue acrylic paint and paint brush to brush some color along the edges and seams of the "sky" area.  Next, I used some bubble wrap brushed with some white acrylic paint and randomly "stamped" white dots on the canvas, followed by random stamping of numbers and diamonds in black ink (Dyan Revealey's Dylusions stamps).

Next I used a stencil and yellow acrylic paint to create a sun in the corner.  Once that was dry, I applied my She Art Girl using mixed medium matte gel.  Here's what she looks like at that point:

 
She's coming along!
 
The next step is to paint the girl's face and legs using a flesh-colored paint with a wet brush to make it more opaque, paint her hair and once that's dry, outline the body of the girl and her clothing.  I did learn that you don't want to try to have a single black line.  From watching Christy's tutorial videos, I've learned that you have to use short, choppy strokes to outline her and give her definition!  A few rub-ons strategically places, a little more color with acrylic paints and Voila!  Here is my first-ever completed She Art canvas.  What do you think???
 
 
Ink: Archival Jet Black by Ranger
Papers:  She Art by Chisty Tomlinson, piece of book paper (from an old book)
Other supplies:  8 x 10" stretched canvas (Michael's value pack), Studio Mixed Medium Matte gel, bubble wrap, 12 x 12" "Zinnia" template (The Crafter's Workshop), foam paint brush, small paint brush, assorted acrylic paints (light blue, white, yellow, flesh, burnt umber), rub-ons, fine tip ball-point pen (I used Permaball Black Pen from Pilot which is available at Christy Tomlinson's store- Scarlet Lime)


Saturday, January 12, 2013

SMASHing it!

I've just started working on a SMASH book.  For those of you who don't know what SMASHing is- you just paste things into a book- whatever you'd like- randomly- no order...now, the "random" part is giving me trouble.  I seem to want to make it more of a mini scrapbook, but I'm working on it.

Since the first of the year, I've made a couple pages and thought I'd share them with you.  Now, keep in mind, I AM a newbie at this...

In October, my son ran and completed his first marathon- all 26.2 miles of it- so I made this page using pictures of him as he's running...


This second page(s), I made in honor of my Baltimore Ravens who are in the playoffs.  Getting better, but still not great...

 
I made these pages using the Christmas cards that I received this year (of course, I didn't cut up the hand-stamped ones I received, those will be kept in my stamp room!).  I saw someone else do this and thought it looked like it would be fun...and it was!  What a great way to keep cards from each year without having piles of cards just laying around

 
These last 2 pages I made of My Favorite Things.  I'll probably add to this page as I find more things to use.
 

So, I'm on this SMASH journey and enjoying it...just hope I get better at the randomness of it all!!!

Friday, January 4, 2013

It's Fabulous Freebie Friday!

It's time for another Fabulous Freebie giveaway on the Sassy Studio Designs Papercraft Planet page!
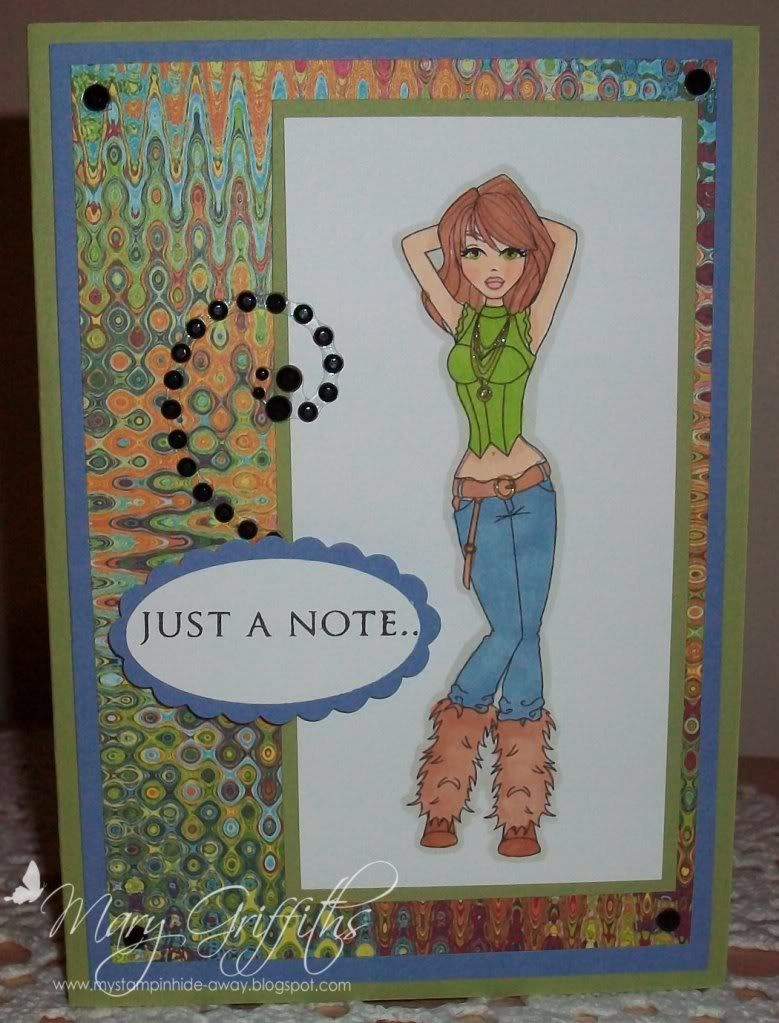
This week's image is Diva Diana, and boy, she IS fabulous!!!!  Make sure you go grab this wonderful freebie before she's gone!  The "challenge" for the next two weeks is to use something from your "stash" on your project.  Well, believe me, I have a HUGE stash!  I have tons of "stuff" that I've bought and either didn't use up or never used at all!   For this week's card, I used some leftover black jet stick-on beads/flourish, as well as patterned paper from the Lime Rickety pack from Basic Grey.  I was never quite sure how to use this one pattern but I think it works well with Diva Diana.  What do you think?


Photobucket
 
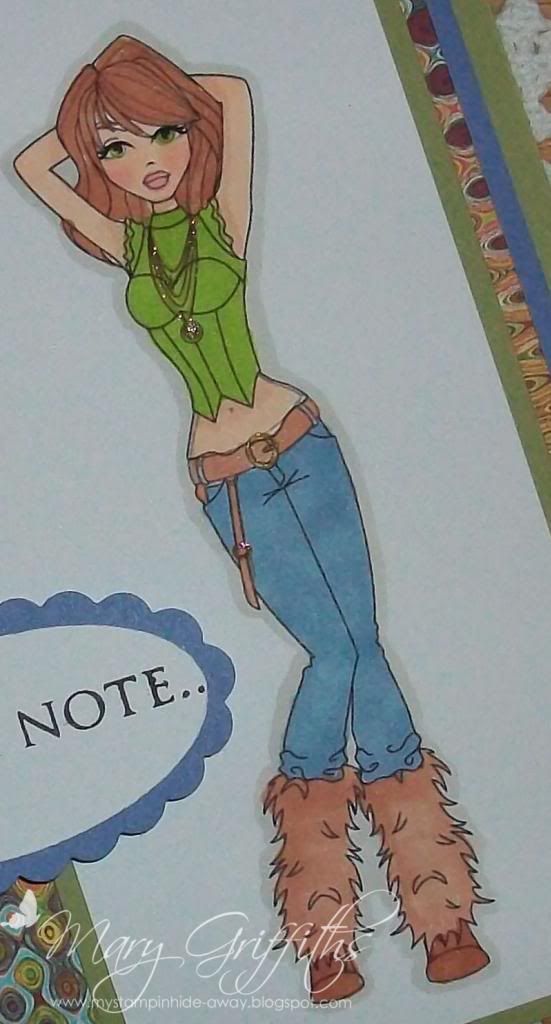
 ...and a close-up of this gorgeous image:
 

Photobucket